Objectives: You should be able to identify uncontrolled and light-controlled pedestrian crossings and use the MSPSL routine on the approach.
You should know the rules of priority at pedestrian crossings, understand the meaning of road markings, road signs and signals, and give way to pedestrians when necessary.
Most learner drivers think pedestrian crossings are simple. Stop if someone’s there; go if they’re not. In reality, that’s exactly where things can go wrong.
The UK Highway Code sets out very specific rules for different types of crossings, and misunderstanding even one detail can lead to hesitation, unsafe decisions, or test faults.
Whether you’re learning with driving instructors in Eastbourne, Edinburgh and elsewhere, mastering crossings is about timing, awareness, and making the right decisions under pressure. In this article, we will break down pedestrian crossings and how to handle them so you can approach them with confidence every time.
- What is a pedestrian crossing?
- Pedestrian crossing sign
- Pedestrian crossing road markings
- Easy ways to remember each type of pedestrian crossing
- Why should you never wave people across at pedestrian crossings?
- Use MSPSL on the approach
- Know your lights on pedestrian crossings
- Pedestrian crossing safety tips
- Handling every pedestrian crossing with confidence
What is a pedestrian crossing?
Pedestrian crossings are marked spots on the road where pedestrians have priority, as set out in the UK Highway Code. What you do as a driver depends on the type of crossing, which is why spotting them early matters.
There are several types of pedestrian crossings in the UK. These are:
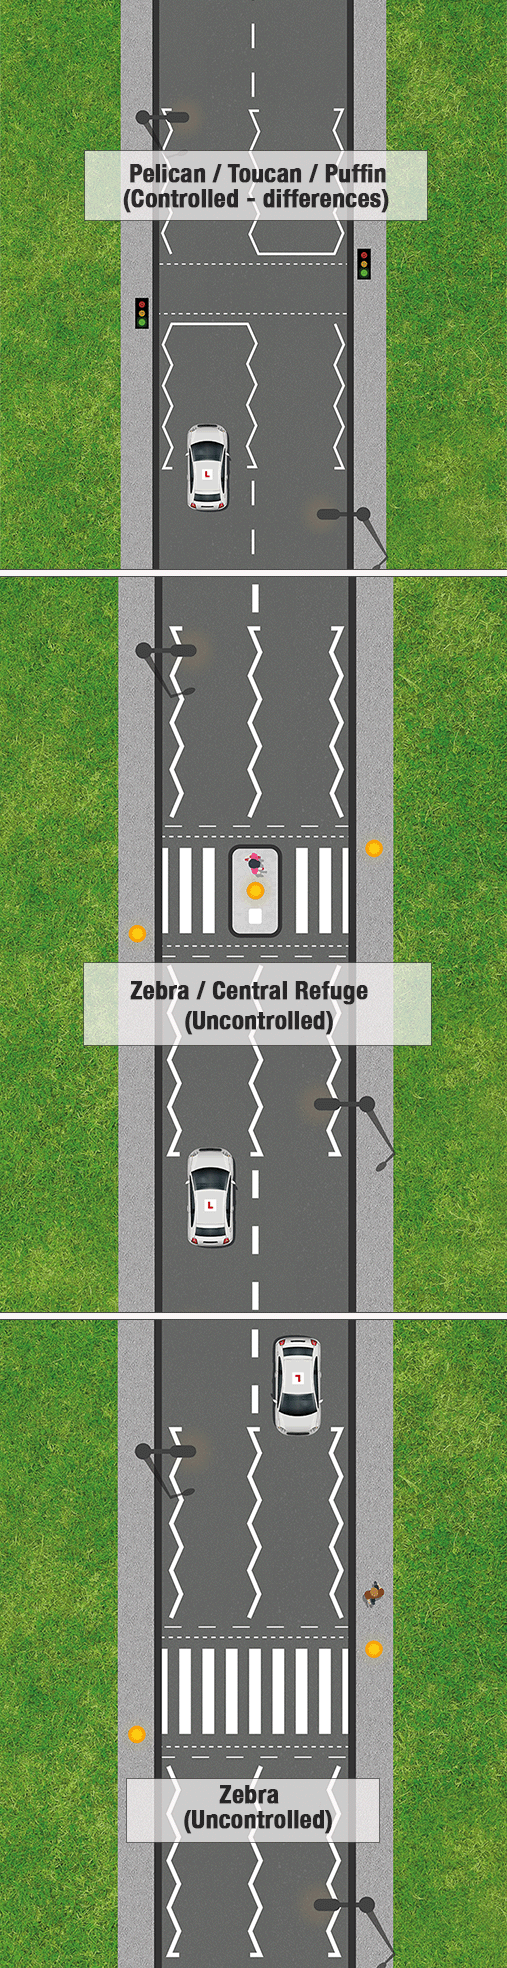
- Zebra: Black and white stripes on the road, with flashing amber beacons on both sides. You must give way to anyone on the crossing and prepare to stop if someone is waiting. Only move off once the crossing is clear.
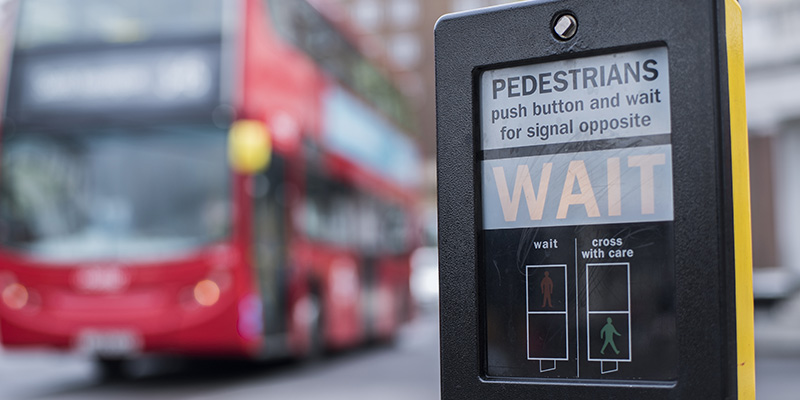
- Pelican: Stop lines printed on the road indicate where to stop. Avoid stopping over them or at the crossing. Look out for the yellow push-button box and a white “WAIT” light on the approach.
- Puffin: Same layout as a pelican, except these have sensors on top of the crossing and detect movement, so that if someone presses the button and walks off, the lights won’t change and hold up the traffic unnecessarily.
- Toucan: Same sequence as pelican. The only difference is that cyclists can ride across. You should usually see a blue cycle route sign near the crossing.
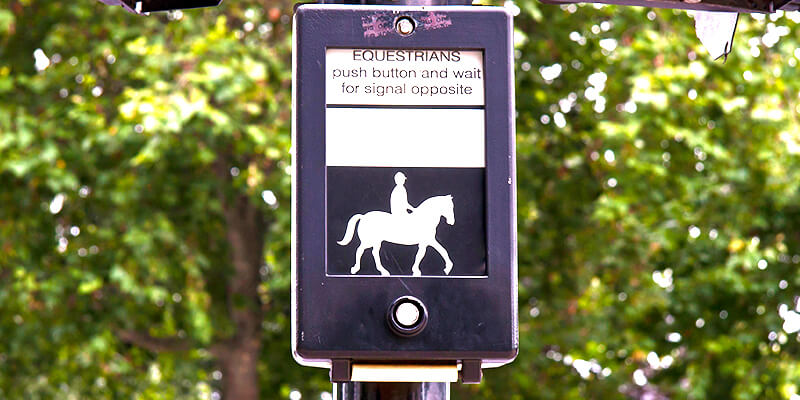
- Pegasus: Similar setup to a pelican or puffin crossing, but designed for horse riders as well as pedestrians. You’ll notice higher push buttons so riders can reach them without dismounting, and often a larger waiting area near the crossing. You may also see horse symbols on nearby signs.
Parallel: A newer type of crossing designed for both pedestrians and cyclists, similar to a zebra crossing but split into two clearly marked sections. One side is for pedestrians (with zebra-style stripes), and the other is for cyclists (usually marked with cycle symbols). There are no traffic lights, so drivers must give way when someone is waiting to cross.
Pedestrian crossing sign
As you approach a pedestrian crossing, the main early warning you’ll usually see is a red triangle warning sign with a black figure walking across striped lines. This gives you time to slow down, scan, and prepare to react.
What’s important to understand is that this warning sign is broadly the same for most types of pedestrian crossings in the UK. It doesn’t usually change depending on whether it’s a zebra, pelican, puffin, toucan or pegasus crossing.
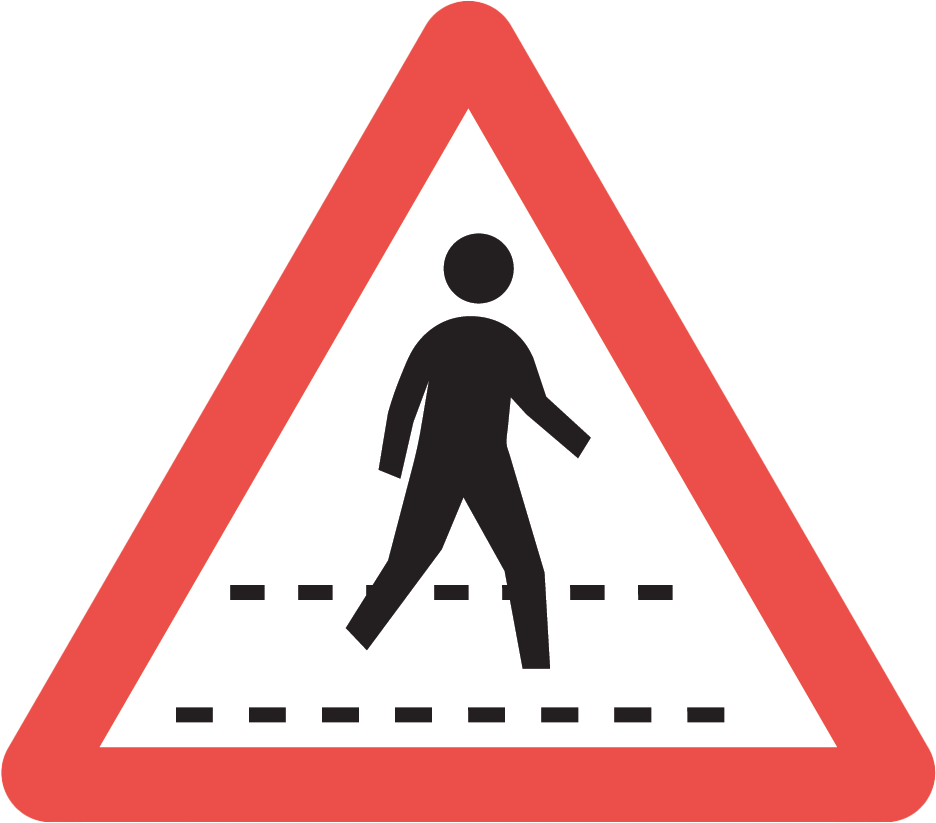
Instead, the best way to tell what type of crossing it is comes from what’s actually happening on the road. Look out for things like traffic lights, cycle markings, or how the waiting area is set up to work out which type of crossing it is and how to approach it.
Pedestrian crossing road markings
As you get closer, road markings become your main guide for how to react. Each crossing has clear visual features set out in the UK Highway Code:
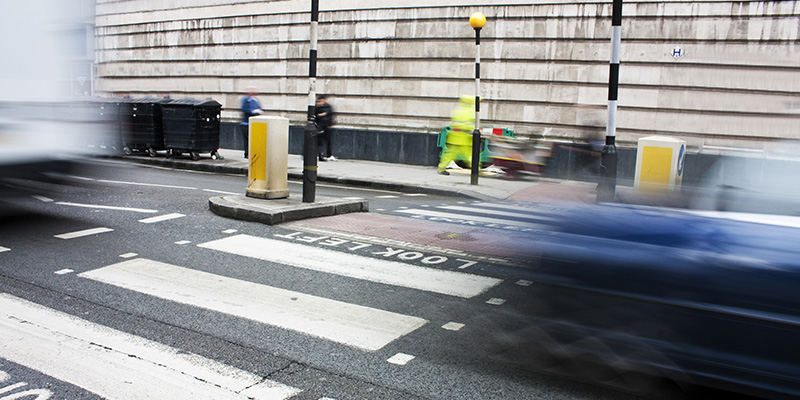
- Zebra crossings: You’ll see bold black-and-white stripes across the road, along with zig-zag lines on the approach. Zig-zag lines mean you must not stop or overtake in the controlled area, unless you’re forced to stop in traffic.
- Pelican crossings: These are signal-controlled crossings with traffic lights on the far side of the road. When the lights are red, you must stop. They also include zig-zag lines on the approach to keep the area clear and maintain visibility.
- Puffin crossings: Similar to pelican crossings, but the key difference is that the traffic lights are on the near side of the road (your side). Puffin crossings also use sensors that detect pedestrians and adjust crossing time if someone is still crossing, helping keep things safe and smooth.
- Toucan crossings: These are for both pedestrians and cyclists. Cycle markings on the road will usually give them away, and they are controlled by traffic lights.
- Pegasus crossings: These are for horse riders as well as pedestrians, and you won’t see them very often. One of the main clues is the higher push button, so riders can reach it, along with a bit more space around the crossing. Apart from that, the road markings are similar to those at other crossings.
Across all crossings, one rule never changes: zig-zag lines are a restriction zone and must always be kept clear. They’re there to protect visibility for both drivers and pedestrians.
Easy ways to remember each type of pedestrian crossing
At this point, you might be thinking there’s a lot to remember. The good news is that each crossing follows a simple pattern. Once you understand the basics, recognising them quickly becomes second nature.
Here’s an easy way to lock them in:
- Zebra = stripes, no lights (Black and white lines, you give way if someone’s waiting)
- Pelican = press button, wait for lights (Older style crossing with traffic lights and push button)
- Puffin = smart lights with sensors (Like a pelican, but detects if people are still crossing)
- Toucan = two can cross, with lights (Pedestrians and cyclists, controlled by traffic lights)
- Pegasus = horses can cross (Higher buttons, designed for horse riders as well as pedestrians)
- Parallel = zebra-style, no lights + cycle lane (Two side-by-side crossings, one for pedestrians, one for cyclists)
If you can remember these simple patterns, you’ll spend far less time second-guessing yourself on the approach.
Why should you never wave people across at pedestrian crossings?
One of the most common mistakes drivers make at crossings is trying to be “helpful” instead of predictable. The Highway Code is clear that you should never wave pedestrians across at crossings.
This is because it can be dangerous. Although you think it might be helping that person, it can create confusion and lead to dangerous situations; for example, where another driver has not seen the pedestrian and continues driving whilst they start crossing the road.
Consequently, if you are on your driving test and wave across a pedestrian, it could result in a driving fault or even a serious fault depending on the situation.
Avoid waving pedestrians to cross. It’s up to them to cross the road when they feel safe to do so. Only if they continue to wait, and you have acknowledged that they are there by stopping, should you proceed with caution.
A good rule of thumb is simple: let the crossing do its job. Predictability keeps everyone safer.
Use MSPSL on the approach
When approaching any pedestrian crossing, you should automatically fall back on a structured routine. On the approach, your first reaction should be to follow the MSPSL method, as follows:
Mirrors: What’s behind you and how close?
Signal: This is unlikely – see hand signals in the Highway Code for when an arm signal is necessary.
Position: There may be parked cars around the crossing, so leave a safe gap in case a sudden hazard appears (for example, someone’s car door opens).
Speed: If you can see the lights have just turned red or pedestrians are approaching a zebra crossing, then try to time your approach so that you don’t get there and suddenly have to brake hard. This can scare the pedestrians around the crossing.
Look: Look out for pedestrians and check for clues such as a lit “WAIT” box on signal-controlled crossings. Be prepared for the lights to change. Scan early to spot hazards and avoid harsh braking. Also, make sure you stop just before the stop/give-way line. Stopping over is an offence and can be deemed a serious fault on the driving test.
Know your lights on pedestrian crossings
Once you understand your approach, the next step is knowing exactly how to react to the signals you see. Here is a quick guide on how you should react to the different lights at crossings:
Red = Stop.
Amber (steady) = STOP, if you can do so safely.
Red/amber = Get ready to go.
Flashing amber = Go if the crossing is clear.
Green = Go, if safe to do so.
Getting this wrong is a common cause of test faults, especially at pelican crossings, so it is important to know the above before your driving test.
Pedestrian crossing safety tips
Although crossings work differently, some core rules apply almost everywhere. Here are our top safety tips from our driving instructors in Aylesbury, Aberdeen and across the country:
- Keep crossings clear: In slow-moving traffic, don’t enter the crossing unless your exit is clear.
- Pedestrians: If they are still on the crossing, allow them to cross; don’t rev your engine.
- Late decisions: Be prepared for pedestrians who change their minds at the last second and step onto the crossing. Always approach with enough control to stop smoothly if needed.
- Obstructed views: Parked cars, buses, or even other pedestrians can block your view. Slow down if your visibility is limited, as someone could step out unexpectedly.
- Don’t rely on the car in front: Always check the crossing yourself before moving off, even if traffic starts flowing again.
- Leave space in queues: If you stop behind another vehicle at a crossing, leave enough room to see the crossing ahead and move off safely when it clears.
Handling every pedestrian crossing with confidence
Ask any experienced driving instructor, and they will tell you that pedestrian crossings are one of the easiest places for small mistakes to creep in. This isn’t because they’re complicated, but because learners either rush their approach or get confused about the rules. Understanding how each crossing works and how to approach it will help you stay in control.
Whether you’re preparing for your driving test or building confidence for everyday driving, crossings are an opportunity to show awareness, control and good judgement. That’s why our driving instructors in Birmingham, Brighton and across the UK focus on helping you keep your approach smooth and make well-timed, safe decisions. Get that right, and you won’t just avoid faults: you’ll build habits that stay with you long after you’ve passed.

Grade A - 51/51
ORDIT Registered Trainer