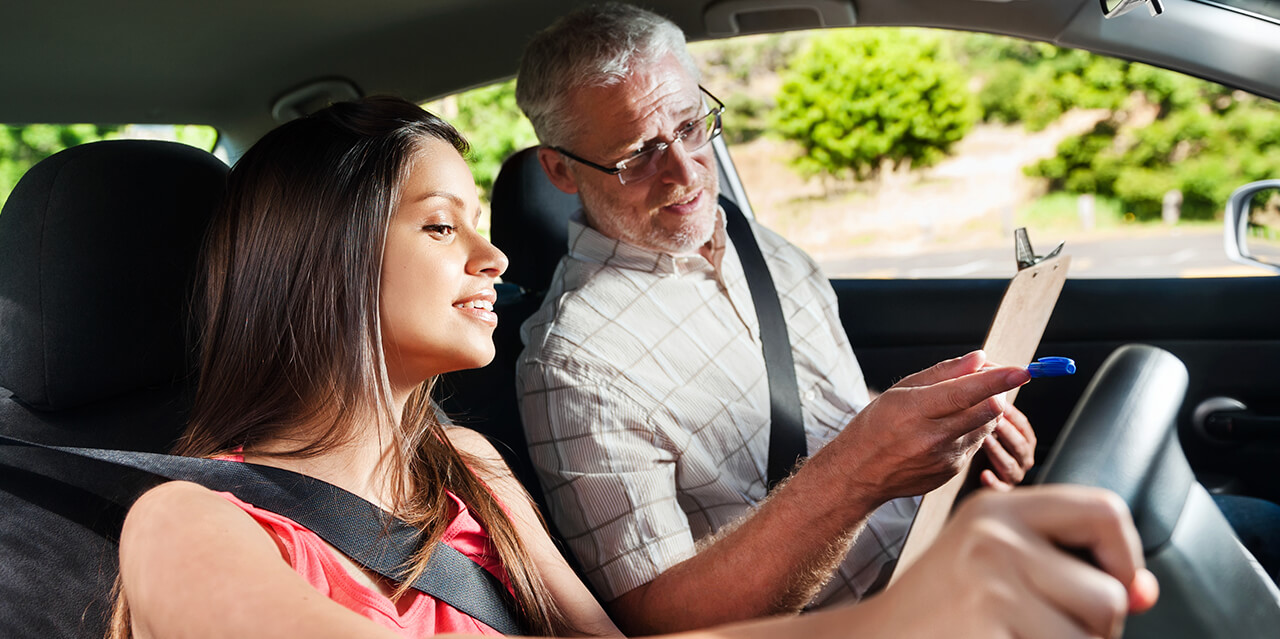
During your driving test, you will be expected to drive on different roads dealing with different hazards under different conditions. The instructions and directions will be provided by your examiner or with a sat-nav system during your independent drive. It’s really important to focus on the key parts of any directions or instructions in order to make the correct decision at the correct time.
As part of your driving test, you will be asked to do a variety of things including navigating different road layouts, completing a manoeuvre etc. Each time you are asked to do something, there are key phrases to listen out for which will help you understand what you are required to do and when. The most important thing is to be focussed and ready to listen.
General instructions
During your drive, you will be pulling over on the side for different reasons. The important thing is to listen to the instruction and identify its key message. This is likely to be something along the lines of, “I would like you to pull up on the left hand side of the road in a safe place please”.
When this instruction is broken down into its core components, the most important part of this is “safe place”, so don’t feel you have to pull over immediately, just at the first opportunity that is safe. This means you have to ensure that your final stopping position is safe, legal and convenient for you, while evaluating your surroundings and how this position might affect other road users.
Pulling over to the side on your test could be either for your examiner to check if you can make a safe decision on where to position the car when stopping on the side of the road or it could be to be ready to make a significant behavioural change i.e. start of your independent drive. It’s important to remember your examiner will never provide a significant behavioural change while the car is in motion, hence the instruction to pull up on the left hand side of the road in a safe place so you can fully focus on what’s required next. You are now ready to listen to the next instruction without having to worry about any hazards.
Before moving away after a stop at the side of the road, the examiner will always say, “drive on when you’re ready”. The important part of this instruction is “when ready”. The examiner is not expecting you to drive on immediately after giving this instruction.
This gives you time to think about what you are about to do and how to do it. You can then perform the POM routine to move off after completing the blind spot checks. I’ve had a pupil take a bottle of water on test with them and they took a sip of water as part of their readiness routine before moving off, which was absolutely fine. It might take 30 seconds to move off based on the flow of traffic or other conditions – as long as you are ready and it is safe to move off (at the first opportunity), there would be no problem with this.
Sometimes the instructions provided by your examiner will be quite specific and this will be for a very good reason. The instructions might be similar to, “pull up on the left hand side of the road, about 1 car length from the target vehicle. You can ignore drop kerbs on this occasion”. The key component from this instruction is “1 car length” as well as “ignore drop kerbs”. This kind of instruction will be given when either performing a parallel park or an angled start.
One thing you will be expected to demonstrate to your examiner while driving your car is vehicle control via one of the show-me questions. One example might be “when it’s safe to do so, could you show me how to turn on dipped headlights.” The key message for this is “safe to do so”. Your examiner will not ask this just before or while navigating a complicated junction. However, they may ask this while performing a gear change or dealing with a simple hazard like a parked car. Don’t feel you need to complete the show-me question immediately, only do this at the first opportunity when it is safe and you have full control of the vehicle.
After completing the show-me question, the examiner will thank you for following the instruction. This is not just them being polite, it also indicates that the show-me question has finished so the relevant controls can be turned off. This is usually the lights or screen demisters, as they are simply demonstrating your ability to maintain vehicle control at all times. One of my pupils didn’t turn off the front demister after that show-me question in the middle of summer and the examiner subtly opened their window to get some cool air in the car. They also struggled to hear the examiner with further instructions as the demisting fan was on full power, which in most cars makes a lot of noise and this was commented on at the end of their test.
Specific details for manoeuvres
You are required to complete a reversing manoeuvre on your test which will either be a forward bay park, reverse bay park, parallel park or park on the right, reverse 2 car lengths and then pull away. Your examiner will provide you with the requirements for completing the manoeuvre, followed by “drive on when ready”, which should be familiar. After completing the manoeuvre, the examiner’s next words will be key to what you do next, so pay attention.
The ideal scenario is that the manoeuvre is completed as required, identified by the examiner as “that’s great, thank you. Drive on when ready.” With those words, you know you’ve done a good job and you don’t have to readjust your final position.
If re-adjustment is needed, the examiner’s words will be similar to, “Are you happy with this final position?” or “Have you finished?” Either of these questions will be a clue that your final position isn’t as good as it could be, so readjustment is needed in some way. Depending on the readjustment, the worst case is that a driving fault is picked up for control. However, failing to re-adjust is likely to result in a serious fault and a failed driving test. 15 driving faults are allowed on test, so the sensible action is to re-adjust and only risk picking up a driving fault rather than a serious fault.
One of my pupils on their test had their examiner ask if they were happy with their final position and responded with “yes”. The examiner was being particularly helpful that day and followed this with “Are you SURE?”. They really emphasised the word sure, which was a big clue for my pupil to change their answer. They unfortunately didn’t and consequently failed their test with a serious fault because of this, yet they only picked up 3 other driving faults during their test. At the end of their test, the examiner explained to my pupil that they gave them a life-line with the “are you sure?” question, which my pupil missed completely.
General driving directions
During your test, you will be expected to safely navigate different types of junctions and change direction etc. Your examiner will explain this to you at the initial test briefing, specifying that you are to follow the road ahead unless you are instructed otherwise, and you will receive plenty of notice when you are to change direction.
For any directions given by the examiner, the important thing to remember is that you will always be given the target first, then the direction and the exit number for a roundabout. This will be something like “at the end of the road, turn left”, or “at the roundabout ahead, turn right, third exit”.
The reason for the instruction being given in this way is for the examiner to assess how far back from the target you start the MSPSL hazard routine and the timing of the different elements of the hazard routine. The other reason is that if you hear “turn left at the end of the road”, you could immediately focus on the turning left part, and ignore the end of the road part, resulting in starting the hazard routine too early and giving confusing signals etc. Therefore, it’s important to listen to both the target and the direction to make the appropriate decisions.
Some test routes involve driving on a dual carriageway with leaving and joining slip roads. In order for you to make safe decisions and early preparation, the examiner will specify how long you are on the dual carriageway for. This could be in either miles or minutes (5 miles equates to about 5 minutes assuming an average speed of 60mph), slip road number or some other target. This provides details on how much time you have to overtake slower moving vehicles and return to the cruising lane in plenty of time in order to exit from the dual carriageway, preventing last-minute cut-ins or potentially missing your exit.
Please remember that if you have any doubts or confusion on what the instructions of directions are, you didn’t hear the full instruction or you simply forget, ask your examiner to remind you of the instruction or direction. They will simply repeat what they would like you to do, with no judgement or criticism. They would prefer you to ask if you are unsure so that you make the correct decision, rather than make it up, deviate from the test route and make an unsafe decision.
Remember that from the moment you meet the examiner, you are under test conditions and these test conditions do not end until you are told your test is over by your examiner.
